


Here's an update of the work we are doing building the cheap open source mothbox for @Hubertszcz
External design
In a lot of wilderness tool development, one finds a lot of the design work actually goes into making the project simpler and simpler.
In this overhaul of the mothbox, I started with fun lightweight system of telescoping rods that would be useful for potential future drone-deployable devices. Once built, though many of the potential failure points became obvious. So i worked towards a new design that would be heavier, but instead just fold out. This seemed great and moved us away from external metal parts that could corrode and fail. As I was putting together yhis prototype though, it helped me see some ways i could simplify manufacturing. A big reason i have seen many open science hardware projects not get used is because
- they have too many hard to find materials
- they are really difficult to build
- they are difficult to use
Or
- when they are in the field some parts break and it's difficult to repair them
So trying to make a effective tool that is aware of these concerns takes some iterations. Now for the outermost design i have arrived at what i hope is a super dead simple design.
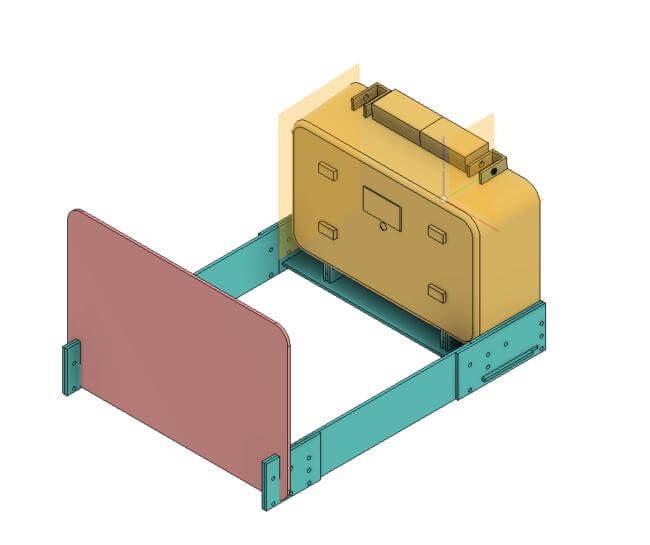
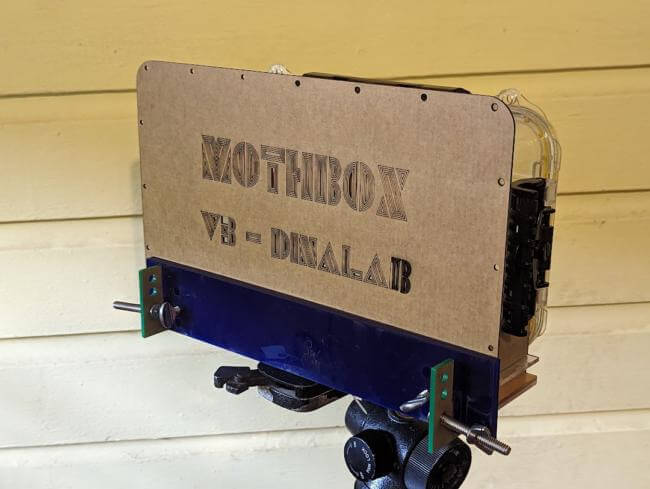
No moving parts. The arms simply bolt on by hand with stainless steel ¼ bolts (with wingnuts) and the target locks on to the plastic arms.

Then when it needs to be transported, the entire thing pops apart and locks together in a folded position which protects the lens from damage.
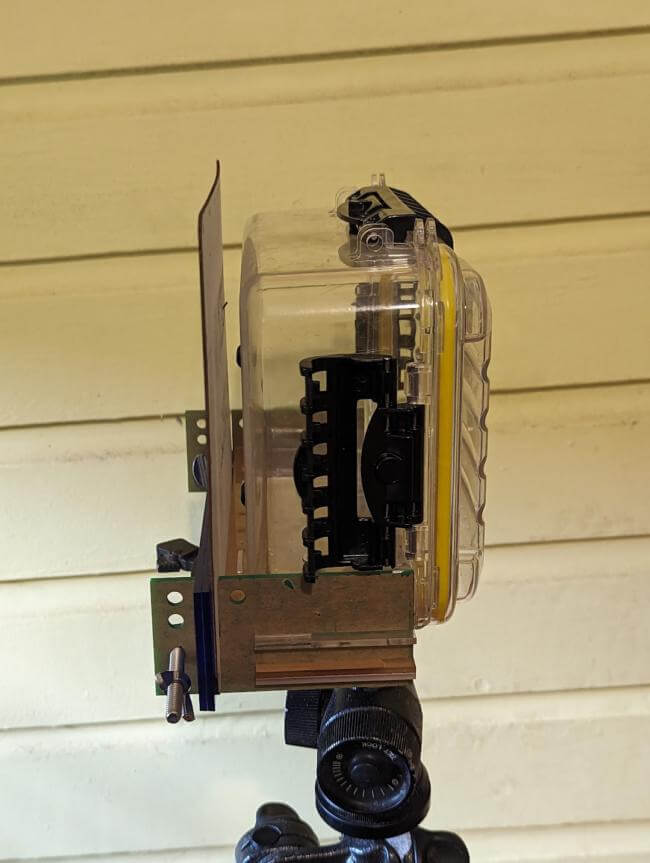
Also the entire assembly attaches to the tripod mount which can then be attached to any type of box in the future.

We do re-introduce some metal parts, but im using some stainless steel ¼ in bolts which i have already personally tested on a sign i left out in the rain in the rainforest for 2+ years which still work. They should also be cheap and easy to source:)
Internal Design
In the meantime, i have been working on the internal design of the mothbox and how to securely hold all the parts together.

Everything Laser-Cutterable
Throughout This process i have been trying to make the final device use a minimal amount of manufacturing technologies. Everything is made to be laser-cutterable for a couple reasons:
- laser cutting can help us mass produce these devices much quicker (5 minute cuts instead of 10 hour prints) and with sturdier materials (extruded plexiglass instead of layered plastic)
- if we can laser cut it we can always still 3d print it if need be, but 3d printable designs cannot always be laser cut
- worse case scenario laser cut designs can be printed on paper and used as stencils for cutting pieces out with handtools like a jigsaw
A nice thing so far is that i seemed to have modelled the box good enough that the holes on the interior and exterior parts line up! Huge win!

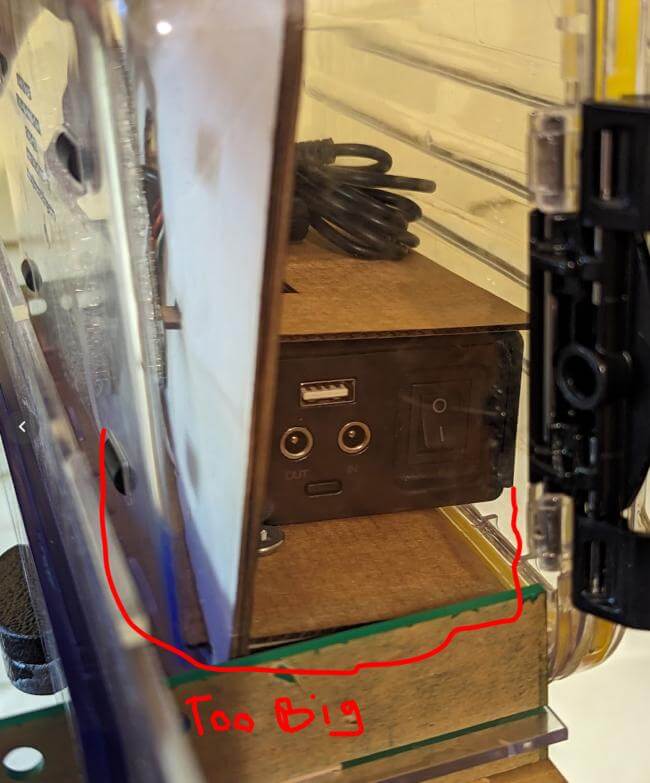
As always, we are prototyping with Garbage as much as possible. These are all cardboard bits we use from the recycling (pizza boxes are perfectly 3mm sometimes!)
It's great to work like this because I can rapidly go through tests of different orientations and discover things that would have wasted a ton more precious plastic.
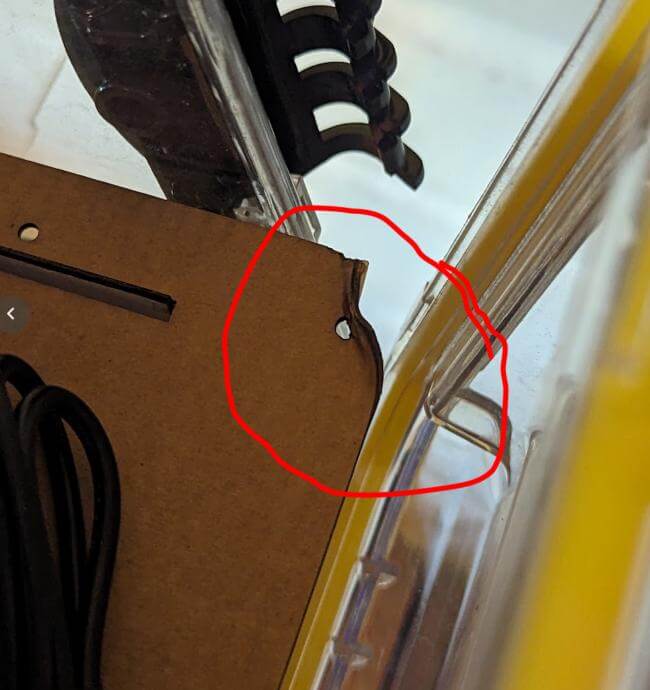
For instance I found that because of how we moved the camera to the center in V3 (as opposed to off-center in v2), the battery no longer fits in its previous orientation (just barely!)
Also the top lid of the box wasn't precisely modeled, and so the little lip was ignored which gets in the way of some of the internal harnesses. But with our cardboard prototypes we can quickly and easily identify annoying problems like these :)
Electronics design
The goal of the device is to be something we can leave unattended for at least a month which can turn itself on and off. Being power efficient and able to use very little energy when "off" while able to output large amounts of power when "on" is key. The raspberry pi doesn't come with the ability to go into ultra low power modes itself though several add-ons seemed promising.
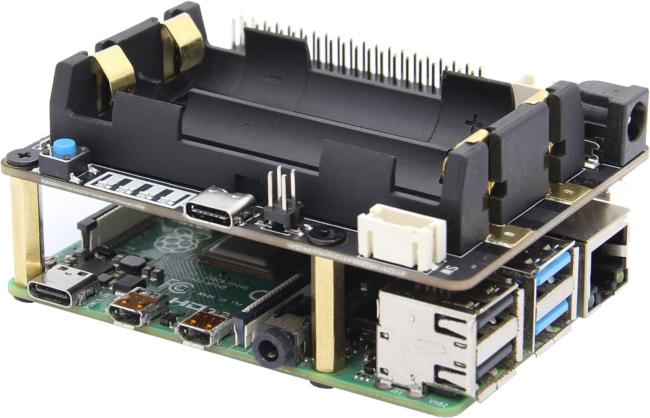
Geekworm X728
The first i tried was the Geekworm X728. It is a UPS with built in backup batteries that has a real-time clock and advertises its ultra low power consumption when off and it's "auto-power on" ability. I was getting it set up and the drivers installed for the pi, however when I found out that "auto-power on" just meant it would turn on when plugged into a power source. This was annoying because it seems trivial to have designed this product with the ability to turn itself on. Instead i confirmed with the company there is no way to schedule a startup of the raspberry pi.
(Boooo!)
Waveshare Power Management Hat (B)
So next i tried the Waveshare Power Management Hat (B)
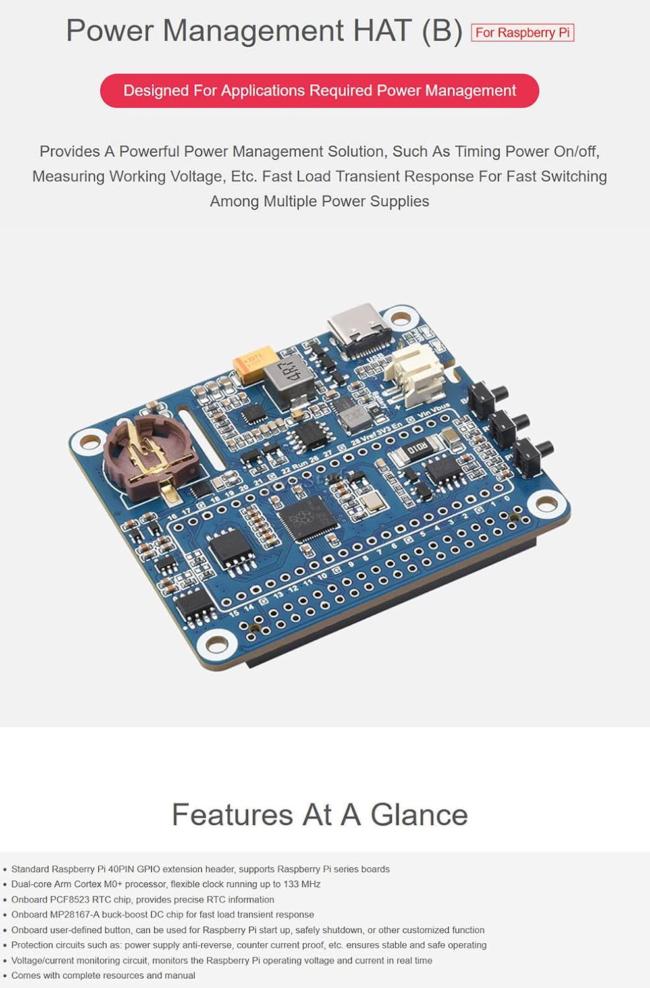
It also has a JST connector to Hook up a backup lipo battery to the device and a real-time clock. I also confirmed that there are existing scripts that show the device can turn itself off and turn itself on according to a schedule.
The main challenge with this board though is that they seemed to have hard coded some of their example software and firmware to specific user names (pi@raspberry pi), so to run their tutorials has run into errors in the cmake lists. I contacted the company and am waiting for them to help me get this device turning itself on and off. But I'm optimistic!
Also if anyone has any other tried and true solutions for power management, let me know.
One thing i was hopeful for about the Waveshare power Management hat is that I also have a Waveshare relay board that was quick and easy to get working, and it stacks right on top of the power management board.
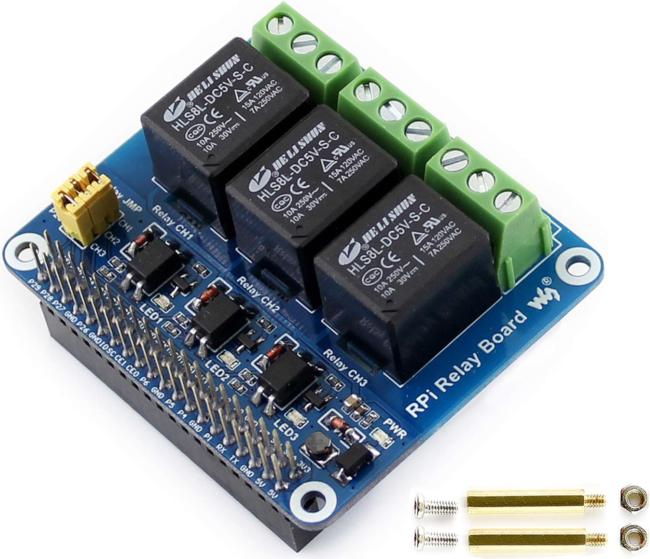
Unfortunately Waveshare didn't make their boards compatible and i confirmed a GPIO conflict between the power management hat and the 3 gpio pins of the relay board. That would have been wayyy too easy and convenient!
24 October 2023 9:05am
Hi Andrew,
thanks for sharing your development process so openly, that's really cool and boosts creative thinking also for the readers! :)
Regarding a solution for Raspberry Pi power management: we are using the PiJuice Zero pHAT in combination with a Raspberry Pi Zero 2 W in our insect camera trap. There are also other versions available, e.g. for RPi 4 (more info: PiJuice GitHub). From my experience the PiJuice works mostly great and is super easy to install and set up. Downsides are the price and the lack of further software updates/development. It would be really interesting if you could compare one of their HATs to the products from Waveshare. Another possible solution would be a product from UUGear. I have the Witty Pi 4 L3V7 lying around, but couldn't really test and compare it to the PiJuice HAT yet.
Is there a reason why you are using the Raspberry Pi 4? From what I understand about your use case, the RPi Zero 2 W or even RPi Zero should give enough computing power and require a lot less power. Also they are smaller and would be easier to integrate in your box (and generate less heat).
I'm excited for the next updates to see in which direction you will be moving forward with your Mothbox!
Best,
Max


Lars Holst Hansen
Aarhus University


27 October 2023 6:44am
Thanks a lot for this detailed update on your project! It looks great!
Maximilian Sittinger